English
 Français
 Español
 Deutsch
 日本語
日本語

If you're a coffee lover, you know that a well-made latte or cappuccino is more than just a drink, it's an experience. The frothy foam that sits atop your espresso is a crucial part of that experience, and it's what sets your homemade coffee drinks apart from a run-of-the-mill cup of joe.
But creating barista-quality foam at home can be a challenge, especially if you don't have access to a fancy espresso machine with a built-in steam wand. Fortunately, with the right tools and techniques, you can create rich, velvety foam at home using a milk frother.
We'll walk you through everything you need to know to create barista-quality foam at home with a milk frother.
1.Choose the right milk
The first step in creating great foam is choosing the right milk. For the best results, you'll want to use whole milk, which has a higher fat content than skim or low-fat milk. The fat in the milk helps create a more stable foam that's less likely to collapse.
If you're lactose intolerant or prefer a non-dairy milk, you can still create great foam with alternatives like soy, almond, or oat milk. Just keep in mind that non-dairy milk tends to foam up differently than dairy milk, so you may need to experiment a bit to find the right one for your taste.
2.Use cold milk
Another key to creating great foam is starting with cold milk. Cold milk will froth up better and create a denser foam than warm or room-temperature milk.
3.Use a milk frother
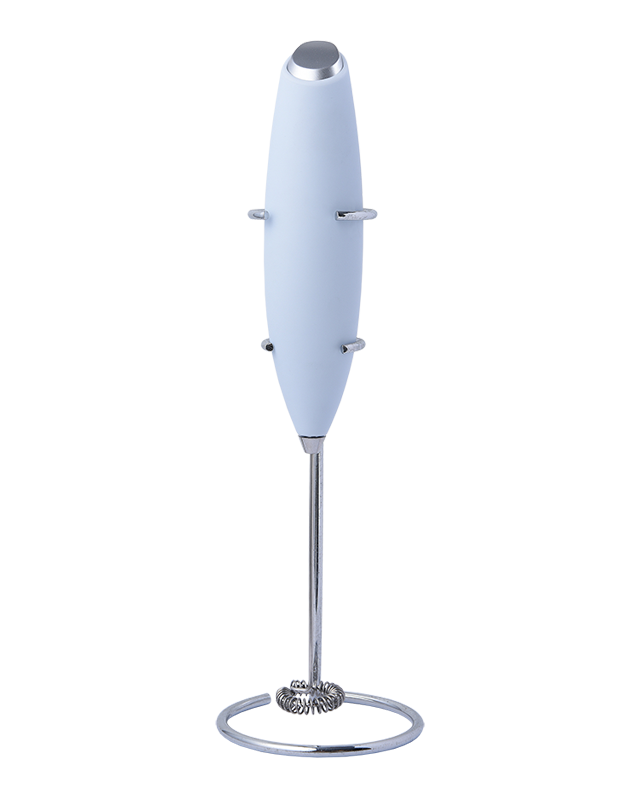
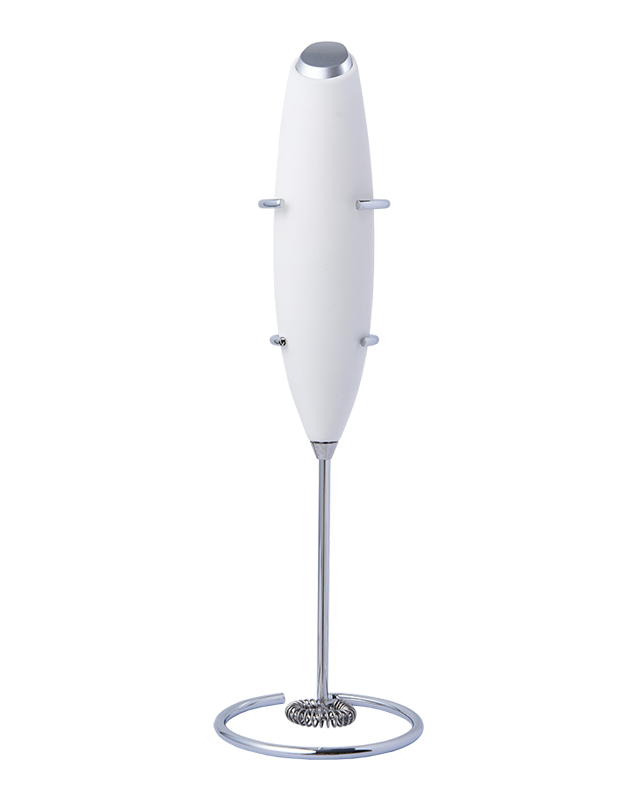
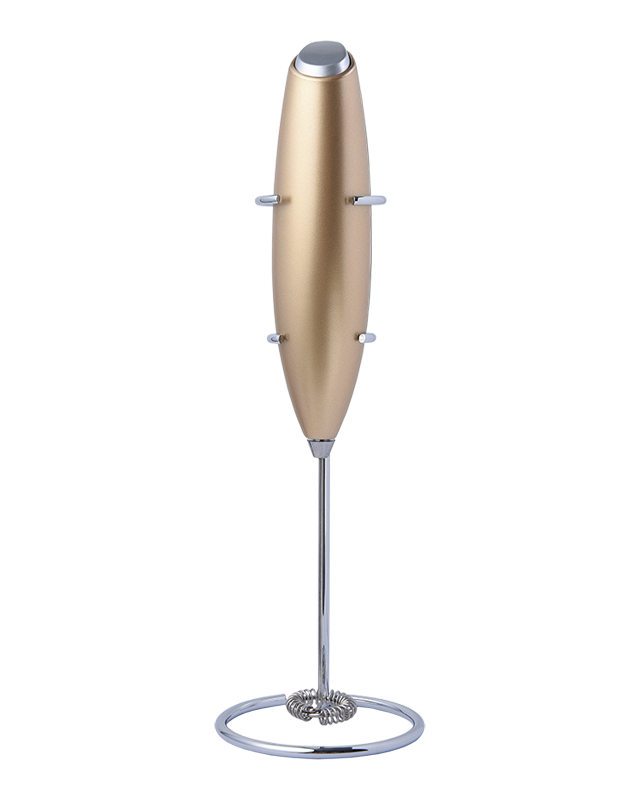
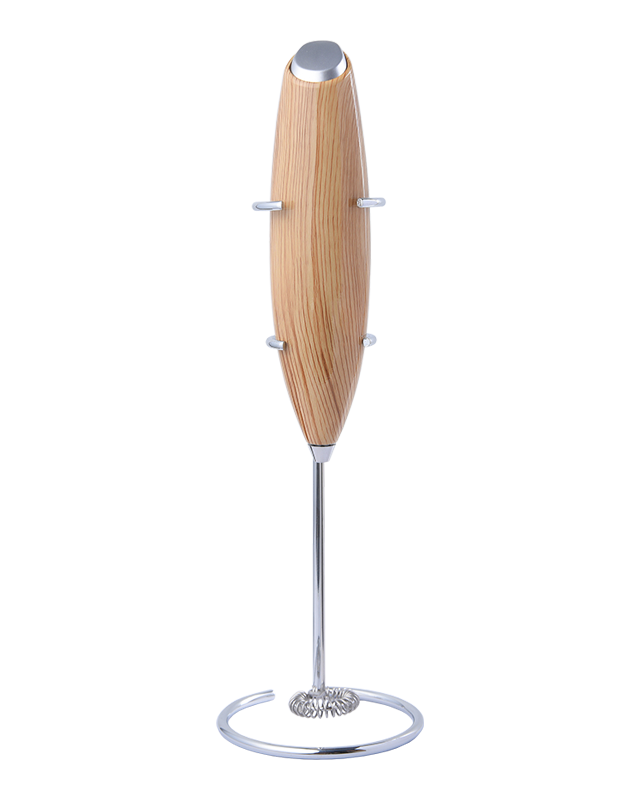
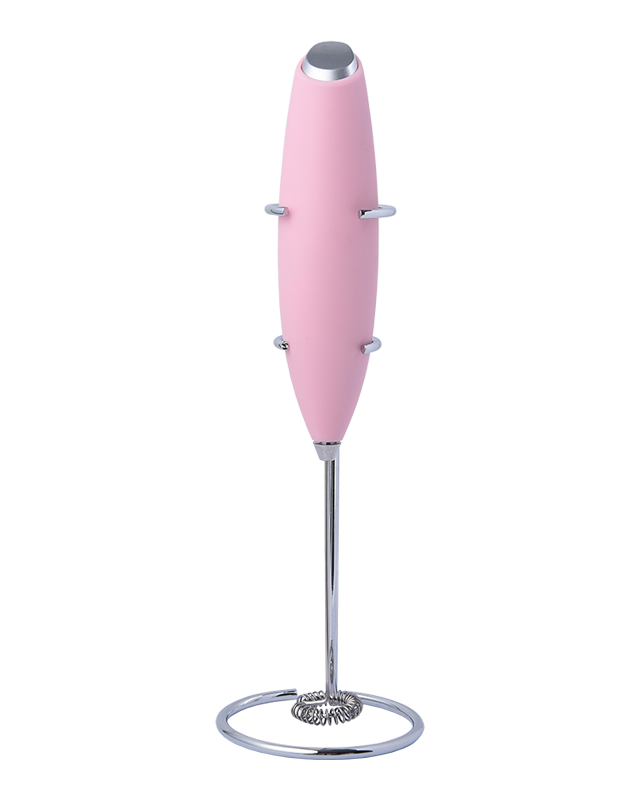
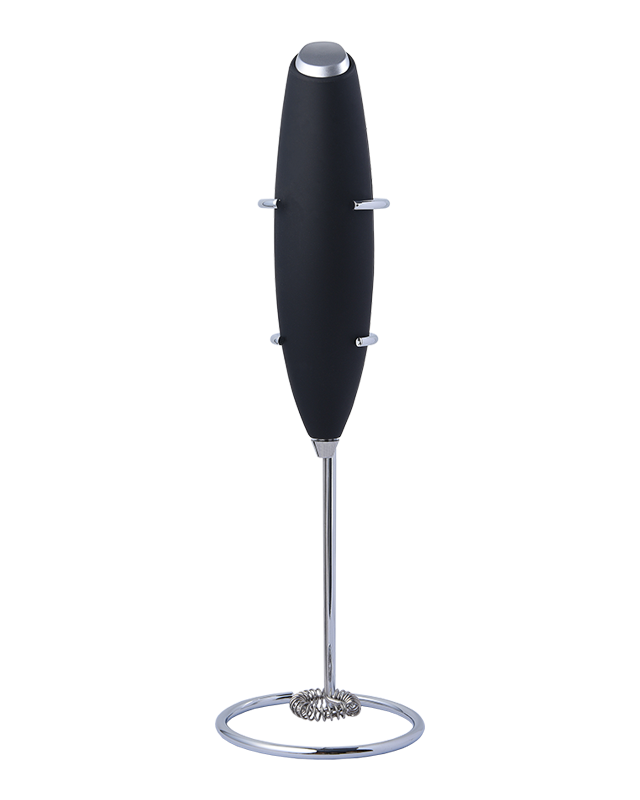
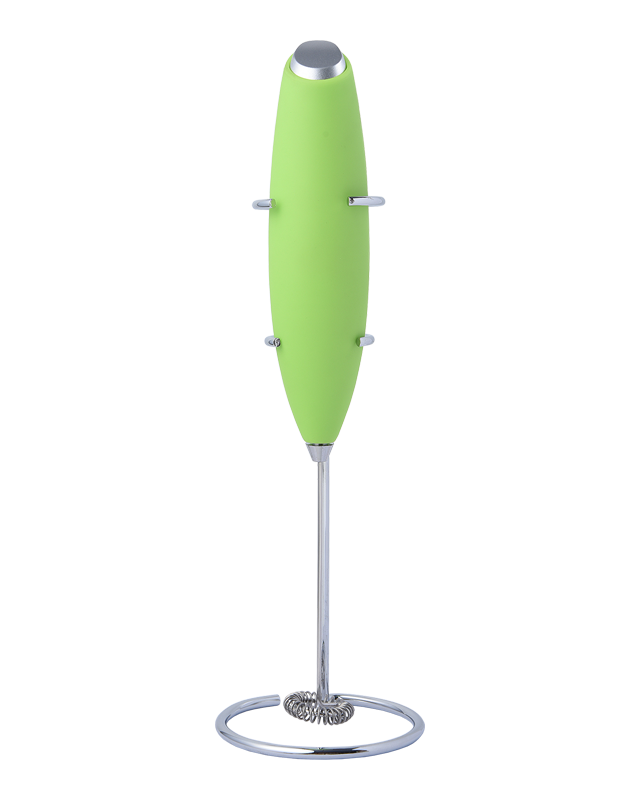
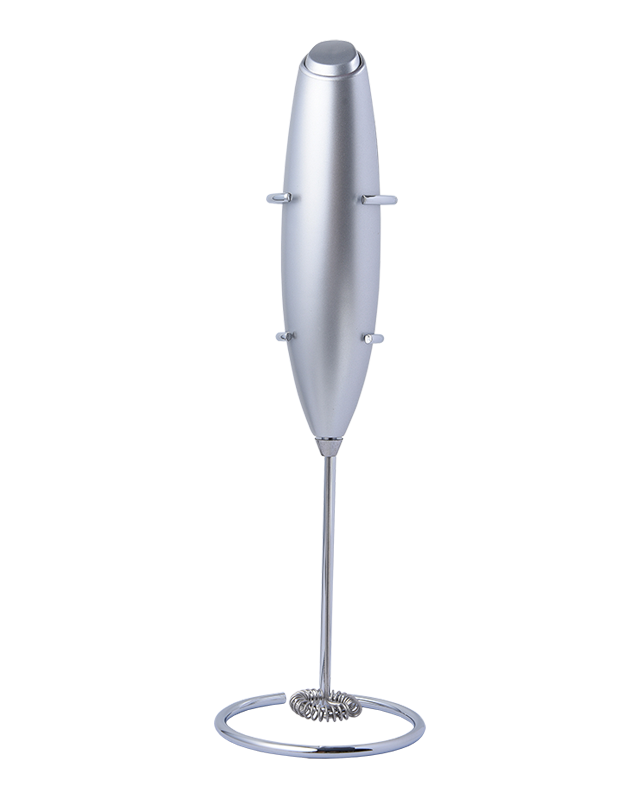
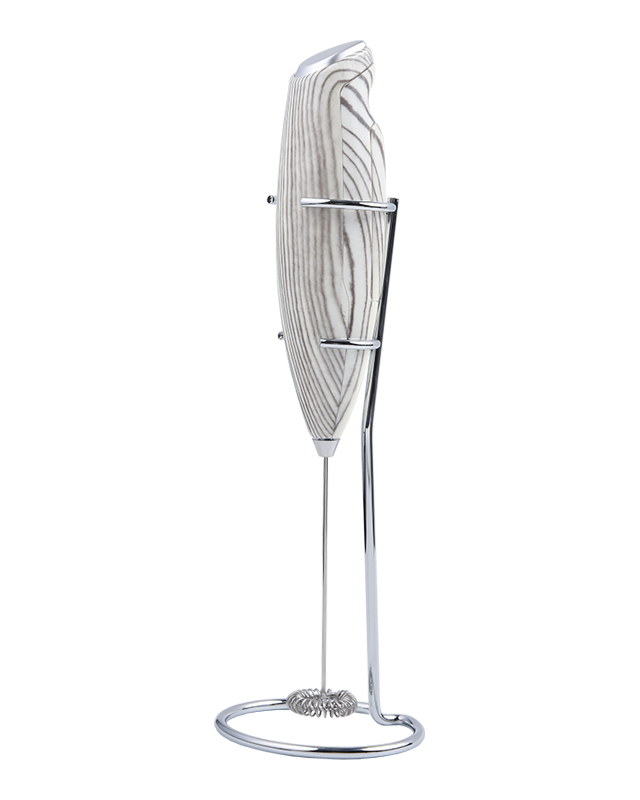
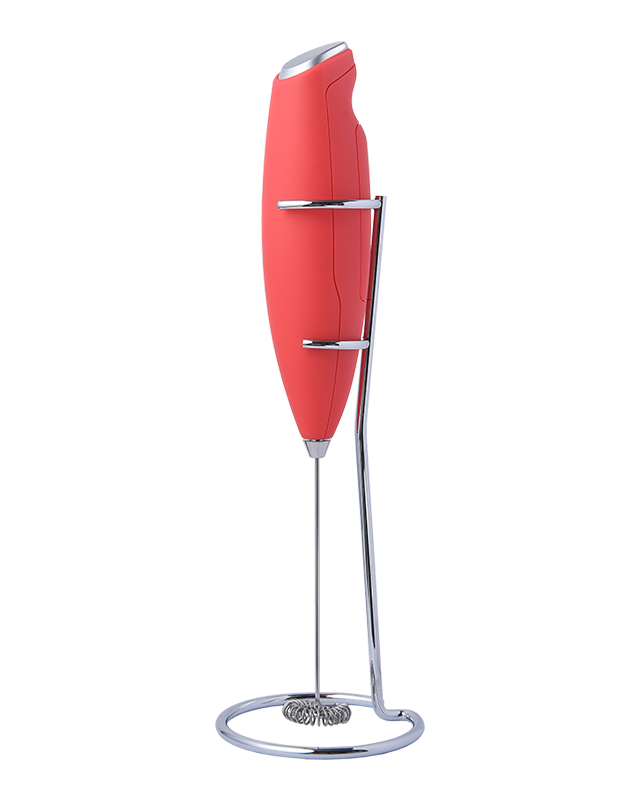
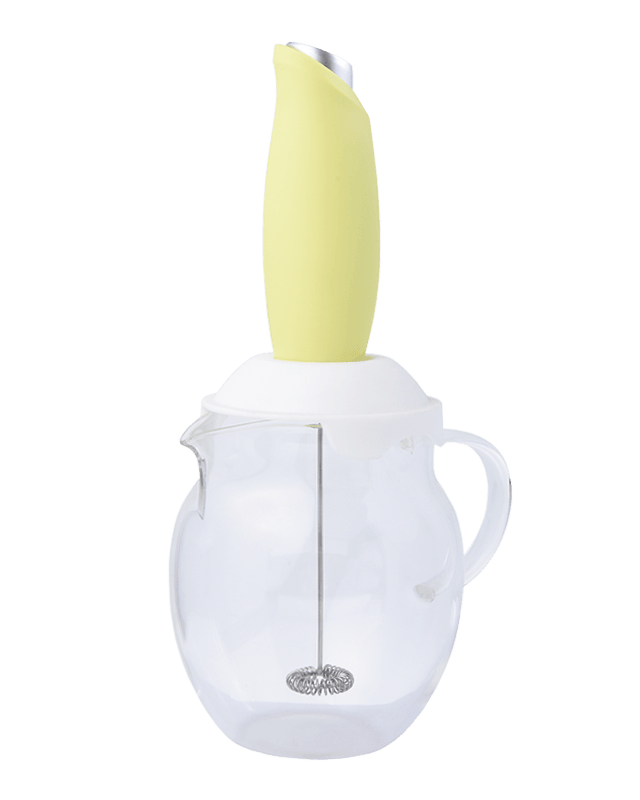
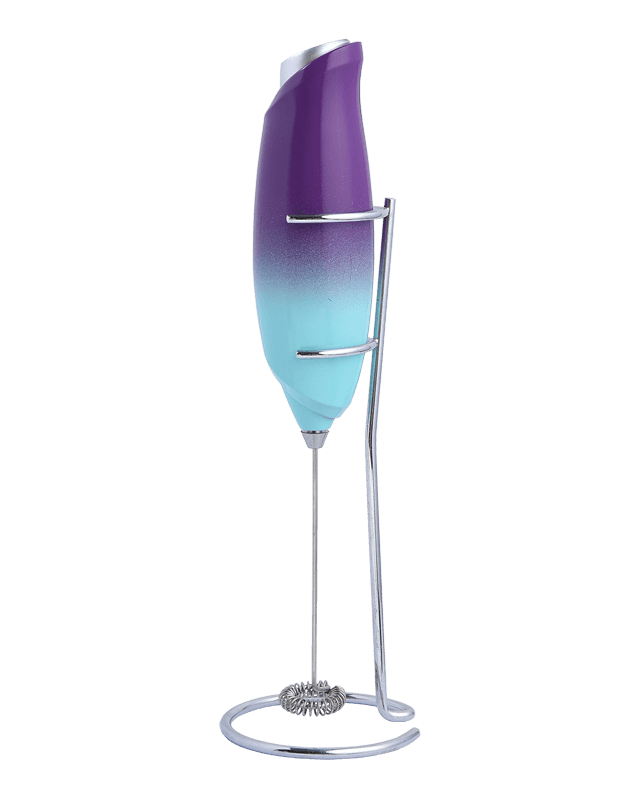
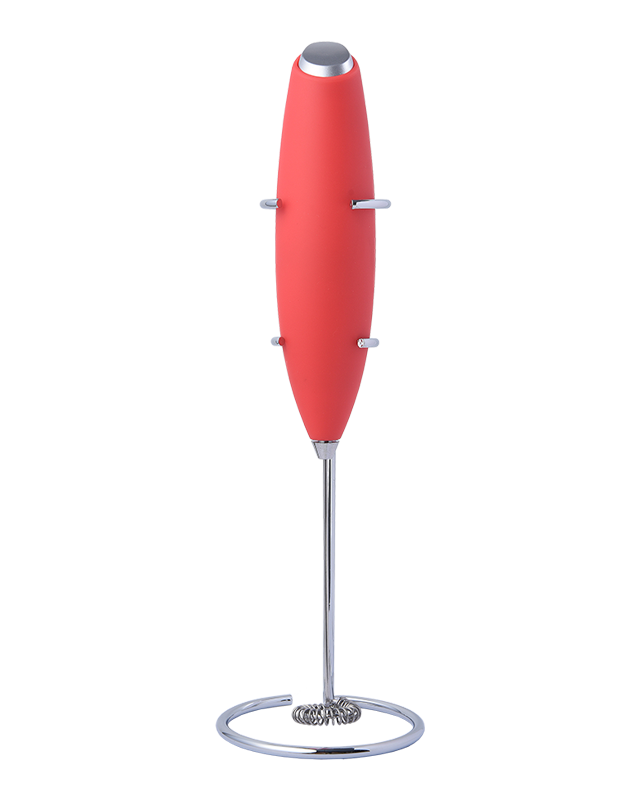
While you can create foam by whisking your milk by hand, it's much easier and more consistent to use a milk frother. There are a few different types of milk frothers on the market, including handheld frothers, electric frothers, and steam wand frothers.
Handheld frothers are the most affordable and portable option, but they can be a bit tricky to use and may not create as fine of a foam as other types of frothers. Electric frothers are a bit more expensive, but they're very easy to use and can create a variety of foam textures. Steam wand frothers are the most expensive and require a bit more skill to use, but they create the most consistent and high-quality foam.
4.Froth the milk
Once you've chosen the right milk, chilled it, and selected your milk frother, it's time to start frothing. Here's how to do it:
Fill your frother with cold milk. Be sure not to overfill it, as the milk will expand as it froths.
Turn on your frother and froth the milk for 20-30 seconds, or until it reaches your desired texture. Keep in mind that the longer you froth the milk, the denser the foam will be.
Once the milk is frothed, give it a few taps on the counter to release any large bubbles and create a smooth surface.
5.Pour and enjoy
Now that you've created the perfect foam, it's time to pour your milk into your espresso or coffee. For a latte, pour the milk over the espresso and spoon the foam on top. For a cappuccino, pour the foam over the espresso and top with a sprinkle of cocoa powder or cinnamon. With these tips and techniques, you can create barista-quality foam at home with a milk frother.
Certification : CE ROHS LFGB FDA
Voltage : DC 3V
Material : 304 Stainless steel + ABS
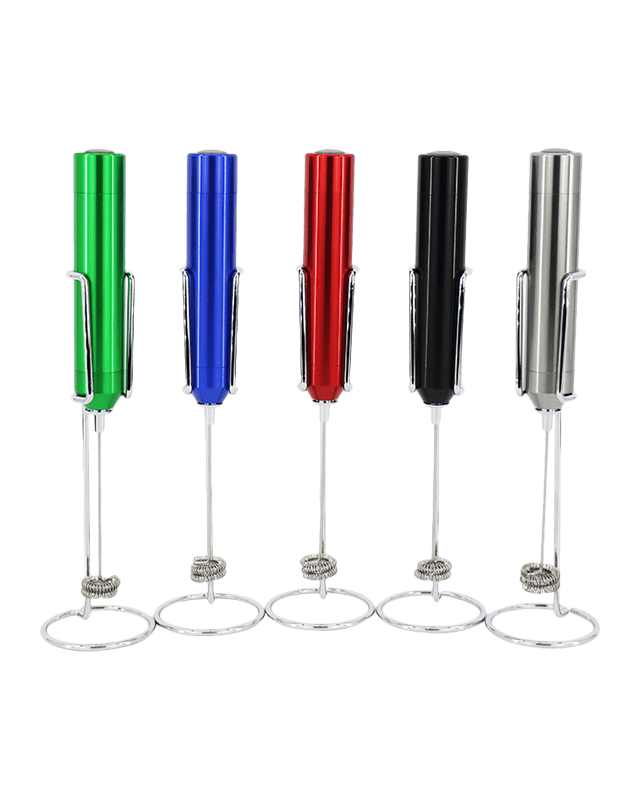
Color : Any colors can be done as custom
Product weight : 102g
Housing : Plastic ABS
Rated Power : 2W
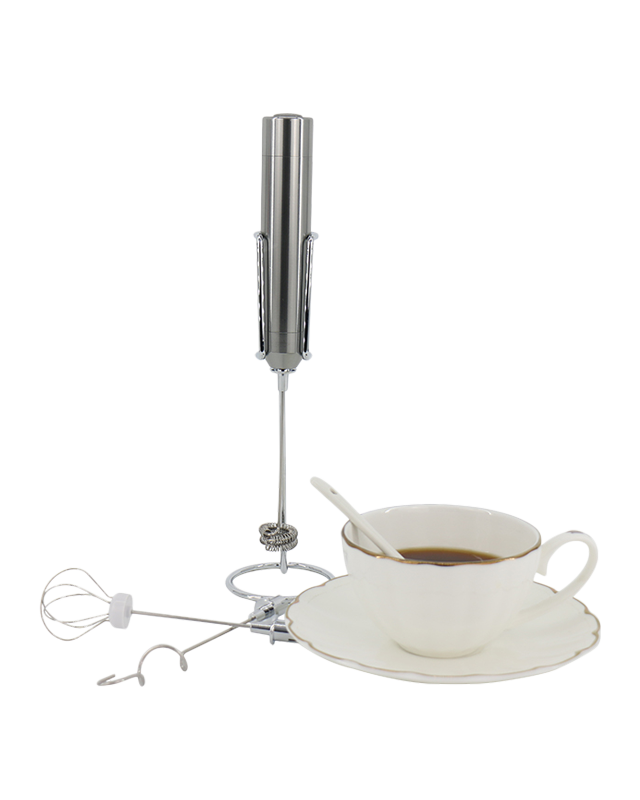
Application : Frothing milk, Whisking coffee or beverages, Beating eggs