English
 Français
 Español
 Deutsch
 日本語
日本語

Choose the Right Milk Type and Temperature
Producing high-quality microfoam with a Milk Former Stick Milk Frother begins with selecting the appropriate milk and ensuring it is at the correct temperature. Whole milk is typically preferred due to its balanced protein and fat content, which allows for a creamier, more stable foam. However, barista-style plant-based alternatives, such as oat, soy, or almond milk, can also be used effectively if formulated for frothing. Milk should ideally be chilled to approximately 4–7°C (39–45°F) before frothing, as colder milk provides better control during aeration, allowing the whisk to create small, uniform bubbles that contribute to a smooth, velvety texture essential for latte art. Starting with cold milk also helps prevent overheating during frothing, which could destabilize the foam.
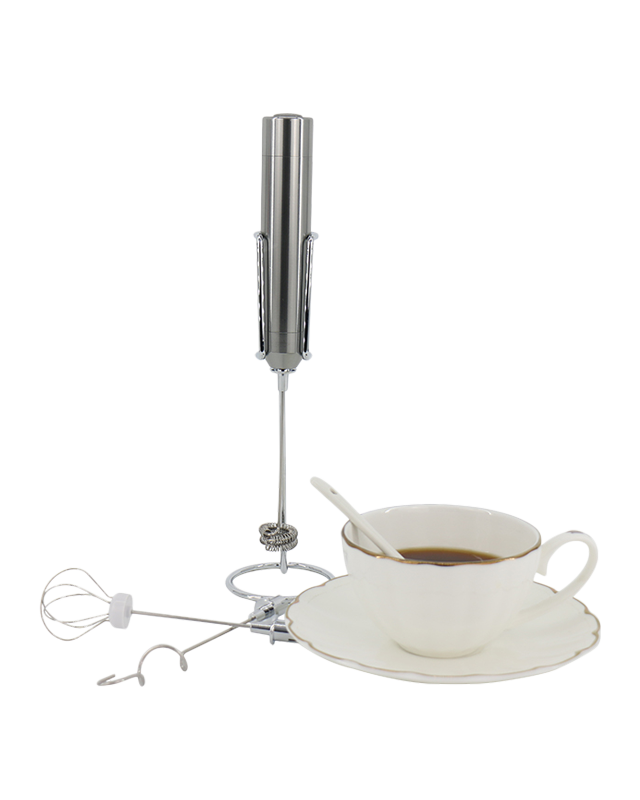
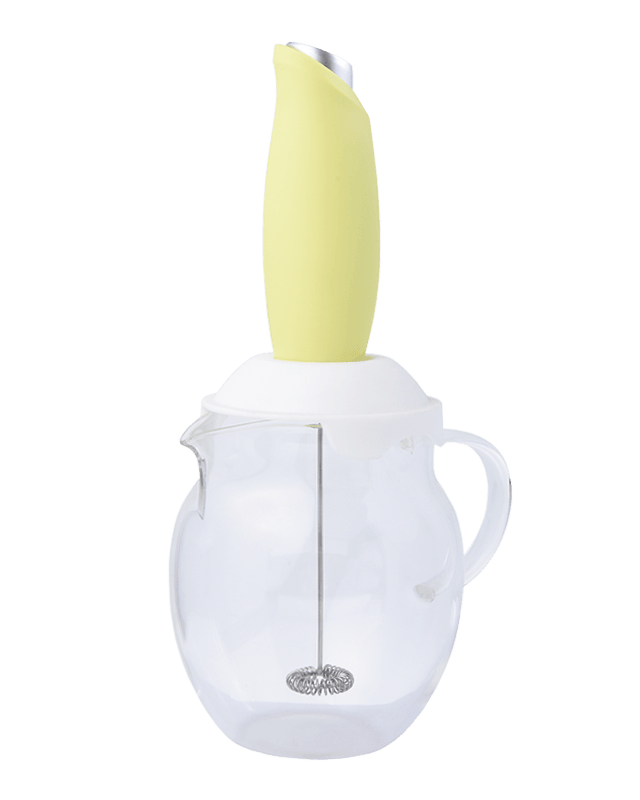
Use an Appropriate Container
The choice of container plays a significant role in achieving consistent microfoam. A tall, narrow vessel with a pour spout is ideal when using a Milk Former Stick Milk Frother, as this shape promotes a controlled vortex that evenly distributes air throughout the milk. The spout is essential for precision when pouring latte art designs, enabling controlled flow and intricate patterns. The container should have sufficient depth to prevent overflow while allowing enough space for the whisk to move freely. Selecting the right vessel ensures optimal aeration and smooth integration of foam and liquid layers, creating a uniform texture suitable for professional-style beverages.
Correct Frothing Technique
Proper frothing technique is critical for producing microfoam suitable for latte art. When using a Milk Former Stick Milk Frother, the whisk should be held slightly below the surface of the milk at a slight angle, creating a gentle whirlpool that draws air into liquid. Moving the frother in slow, circular motions helps maintain a consistent vortex, ensuring uniform aeration. It is important to avoid plunging the whisk too deeply, which can trap large bubbles, or keeping it only at the surface, which can cause splashing and uneven froth. Controlled, deliberate movements allow for fine bubble formation, producing a creamy, glossy microfoam that is ideal for latte art.
Monitor Bubble Size and Texture
The defining characteristic of microfoam is its uniform, fine bubbles, which give the milk a glossy, velvety appearance. When using a Milk Former Stick Milk Frother, it is essential to adjust whisk speed and depth to control bubble size. Lifting the frother slightly during the process can help incorporate air evenly throughout the milk, preventing large bubbles that could compromise foam quality. Over-aeration can create stiff, dry foam that is difficult to pour, while under-aeration results in thin, watery milk that lacks structure. Continuous monitoring ensures the microfoam maintains the right consistency and texture for detailed latte art.
Temperature Control During Frothing
Maintaining appropriate milk temperature is critical for achieving stable microfoam. The optimal temperature range is approximately 55–65°C (130–150°F). Exceeding this range can denature milk proteins, leading to foam that collapses or develops uneven texture. Using a thermometer or relying on tactile feedback, the operator should remove the Milk Former Stick Milk Frother before the milk overheats. Careful temperature control ensures the foam remains smooth, stable, and creamy, which is essential for both aesthetic presentation and beverage quality.